To get rid of an app on macOS, you may already get used to simply drag the icon to the Trash. Well, if it’s just the app itself you wish to remove, then you just did it right all the time. But what about the lingering files that were left over? Those might be the things you haven’t noticed yet, but they are still taking your hard drive space. Just think how many times you have left them behind. Still not care a hang?
This simple way usually works on small-size apps which are not a bundle or belong to any bundles (To see whether the app is bundled, please click on its icon while holding down the Control key -- If a message pops up saying “Show package contents,” it’s a bundled app).
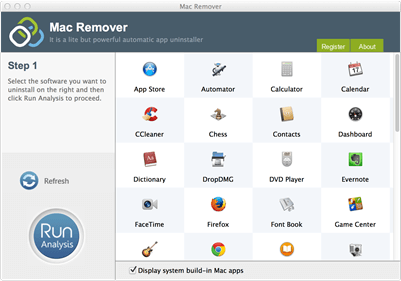
However, when it comes to some other apps, the removal steps would be a bit more complicated. During the installation of an app, files are created in several different folders on macOS, as we mentioned on the homepage. After you drag the app to the Trash, the related orphan files remain on the hard drive, which means part of the space is still taken. You might think they should be relatively small and not worth your time to take care of, while the truth is some of them are quite large. I do understand that locating these pieces every time you remove an app is very tiring, and that’s why MacRemover has been made. But if you’re interested in learning where to find them, read the rest of this page.
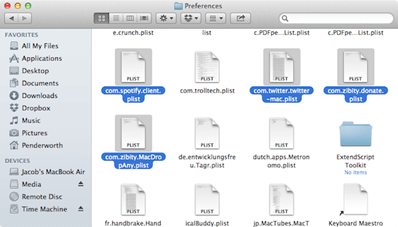
The preference files store the rules (or parameters) that tell your apps how they should work. Occasionally you need to find your preferences file -- say, to delete corrupted preferences, or to email it to customer support for debugging. After an app is removed, these files may become leftovers. To find them, copy ~/Library/Preferences and paste it into the “Go to Folder” input field, then click “Go” to open the folder. To find the those related to the app, search for the name of the app/publisher in this folder.
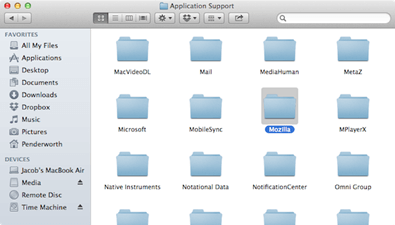
Application Support folder is another place where you can free up much disk space by cleaning out the useless files. This could be more than helpful for gamers looking to save some space on their hard drives. To open this folder, copy ~/Library/Application Support/ and paste it to the “Go to Folder” input field, then click “Go” to open the folder. Then to find the files related to the app you just dragged to the Trash, search for the name of it/its publisher; to find those related to a game, try to search for the name of the platform that the game runs on.
As much as I would like to explain how to completely remove Mac apps on one page, things won’t always be the same on each app you deal with. Except for the above-mentioned two folders that most remaining files are stored, there are several other places to “dig.” If what you expect is a complete uninstall instead of the basic cleaning job, track down every piece of the app, better yet, let MacRemover safely manage all the necessary work for you.
Since the unknown and unstable factors are quite a lot to ordinary users, you deserve to know there are better options. If you’re worried about removing an app correctly and desire a safer alternative, we have got you covered. MacRemover assists you to remove apps with user-friendly features and high efficiency, and sees to your needs as much as possible. But if you insist on doing everything on your own, just be sure not to delete anything you don’t know. Whenever you feel like getting some extra help, remember where to find us.